
Scout First for Barn Wedding Photography, Couples and Photographers
Updated: Sep 6

Map the barn’s light before you touch a camera. Find where the sun pools near doors and high windows, block out two or three short portrait slots around golden hour, and pack layered artificial lighting with backups for when the sun disappears. That single sequence—scout, schedule, layer—decides whether your gallery looks cinematic or like a badly lit shed.
TL;DR:
Scouting the barn ahead of time reveals optimal light pockets, while booking multiple short portrait sessions prevents fatigue and ensures natural expressions.
Using off-camera flashes with gels that match ambient warm lighting avoids color mismatch and preserves the barn’s atmosphere in photos.
Ensuring power capacity and bringing backup equipment like spare batteries and second cameras protects against technical failures during critical moments.
Coordinating with the venue about door openings, lighting control, and electrical limitations prevents losing valuable natural light or running into electrical issues.
Limiting formal portraits to a total of 30 minutes throughout the day allows more time for candid coverage and spontaneous moments.
Table of Contents
Barn wedding photography tips: the highest-impact actions first
These are the tips that change a gallery the most, in the order they matter on the day.
Scout the barn weeks ahead, not on the morning itself, so you already know where the light pockets fall.
Book two or three 10 to 15 minute portrait slots rather than one long, exhausting block that drains the couple’s energy.
Ask the venue to prop the main doors open at golden hour. Backlit couples against an open barn doorway is one of the most reliable rustic barn wedding photos you can produce.
Avoid bouncing flash off dark timber. It throws an orange cast across every face in the frame.
Drag the shutter during speeches and dancing to hold onto the ambient string lights instead of blacking out the room.
Gel your flash to roughly match warm ambient bulbs, or your subjects will look correctly lit against a mismatched orange background.
Carry two off-camera flashes and spare batteries. One always dies mid-reception.
Check the venue’s breaker capacity before plugging in lighting stands, especially in a converted agricultural building with older wiring.
Tell the bridal party to bring sturdy footwear. Straw, gravel, and cobbled barn yards ruin more shoes, and more shots, than rain does.
Coordinate with the DJ on first-dance lighting, so the room isn’t plunged into darkness the second the couple starts to move.
Give the coordinator a printed timeline. Phone signal drops out in rural barns more often than couples expect.
Pro Tip: Ask the venue coordinator, not just the couple, whether the main doors can be propped open during golden hour. Some barns restrict this for insurance or heating reasons, and finding out on the day kills your best backlit silhouette shot.
Lighting strategy for barns: balancing natural light and flash
Every barn has “pocket” light, usually high windows or open doors, and the single best move is finding it before the ceremony starts. Photographers who scout a barn ahead of time can plan portraits around that light rather than fighting the venue’s gloom on the fly. Golden hour matters more in a barn than almost anywhere else because it’s often the only stretch when natural light rivals the interior’s dim ambient tone.
The exposure logic is simple once you know it: shutter speed governs how much ambient light you keep, and flash power governs how the subject is lit. That single relationship is the core of the exposure workflow used for reception photography, and it’s what “dragging the shutter” actually means, slowing the shutter down to pull in warm ambient tones while flash freezes the couple.
Use off-camera flash through a white shoot-through umbrella or softbox rather than bouncing it off the ceiling.
Avoid direct bounce flash on stained or dark timber; it absorbs light and reflects an orange cast back onto skin.
Add a CTO gel to your flash so its colour temperature matches warm string lights instead of clashing against them.
Set white balance slightly warm rather than neutral, since a barn’s ambient glow reads better warm than clinical.
Photographers who work barns regularly warn against “nuking” the room with direct flash, arguing that blending controlled flash with existing ambient light preserves the atmosphere couples actually booked the venue for.
Scouting the barn: three spots to map and the venue checklist
Every barn has three locations worth locking in before the wedding day: a shaded spot for harsh midday sun, an open-door or nearby field for golden hour, and a covered indoor fallback for rain. Miss any one of these and you’re improvising during the busiest hour of the day.
On a site visit, check:
Ceiling and rafter colour. Whitewashed rafters bounce light generously; dark-stained beams swallow it and force earlier flash use.
Window placement and whether the main doors can actually be propped open.
Whether string lights are dimmable, and who controls that switch on the day.
Power outlet locations, circuit capacity, phone signal near the ceremony spot, and where guests can shelter if the group has to move indoors fast.
Portraits and timing: run 10 to 15 minute sessions for real variety
Three short sessions beat one long one, every time. A first look, a post-ceremony couple portrait, and a golden-hour shot each produce a different mood, and none of them exhausts the couple the way a 45-minute marathon does.
First look (10 minutes): wide aperture, 35mm to 50mm range, framed loose to include barn architecture.
Post-ceremony portrait (10 to 15 minutes): tighter 85mm portraits, closer framing, natural interaction prompts rather than stiff poses.
Golden hour (10 to 15 minutes): backlit doorway or field shots, wider aperture again to soften the barn’s rougher textures.
The old “30-minute rule” still holds here: budget no more than half an hour total for formal couple portraits across the day, and spend the rest of your access time on candid coverage. Simple prompts, walk slowly, whisper something, look at the barn instead of the lens, do more for natural expression than any posed instruction.
Equipment and backup plan for rural barn weddings
Barns are unforgiving on kit. Bring two flashes minimum, spare batteries for everything, a softbox or umbrella for off-camera light, wireless triggers, a spare camera body, and a tripod for low-light or night shots.
Carry extension leads and a small power distribution kit; rural barns often run on limited or older circuits.
Label chargers and confirm breaker capacity with the venue before setting up lighting stands.
Bring a printed timeline as backup, since phone signal in converted farm buildings is often patchy.
Pre-focus manually in very low light rather than relying on autofocus to hunt.
A second shooter earns their place on large rural properties more than an extra lens does; covering the opposite side of a big reception or a ceremony from a second angle captures moments a single photographer physically cannot reach in time.
Reception and dance-floor approaches that keep the mood
Speeches and first dances need controlled, gentle light, not a flat white blast. Manual flash or ETTL with negative compensation keeps skin tones natural against warm ambient string lights.
Use rear-curtain sync on the dance floor; it produces trailing motion blur that reads as energy rather than a frozen blur mid-step.
Ask the DJ or lighting operator to dim overheads and hold a neutral key light steady during the first dance.
On a crowded floor, run low-power on-camera flash paired with a background kicker light for separation.
Night and creative low-light shots: quick recipes
A few fast recipes cover most creative night shots. For stars, use a tripod, a long exposure, and a headlamp to light the couple briefly during the frame. For sparklers, rear-curtain sync captures the trail cleanly, and gelled, low-power backlighting works well for vintage cars on wedding portraits or exit portraits. Confirm sparkler permissions with the venue first, and skip anything ambitious if the weather or timeline is already tight.
Common mistakes to avoid: a quick checklist
Don’t bounce flash off dark timber. Use an off-camera softbox instead of the ceiling.
Don’t rely on one light source. Layered ambient, accent, and task lighting turns a black-box barn into something you can actually shoot.
Don’t schedule all portraits at midday. Harsh overhead sun flattens faces; wait for softer light.
Don’t skip the power check. A blown circuit mid-reception is entirely avoidable.
Send this list to your photographer and venue coordinator ahead of the day, alongside your wedding day photography checklist, so nobody is solving these problems live.
Dawn & Carl: how we approach real barn weddings
On a site visit, we map the same three spots every time: a shaded daytime corner, a golden-hour doorway, and a rain-safe indoor fallback, then decide our kit around what we find. Real galleries and client feedback matter more here than theory, which is why we encourage couples to look through full barn wedding galleries before booking anyone. We’re also happy to talk through a venue with you directly, before the day, if you want a second opinion on the light.
— Dawn & Carl
Book a barn wedding photography consultation
There’s no substitute for a photographer who has already stood in your specific barn and worked out where the light falls. You may consider arranging a gallery review or a pre-wedding venue chat to avoid relying on guesswork from a supplier unfamiliar with the space.
[
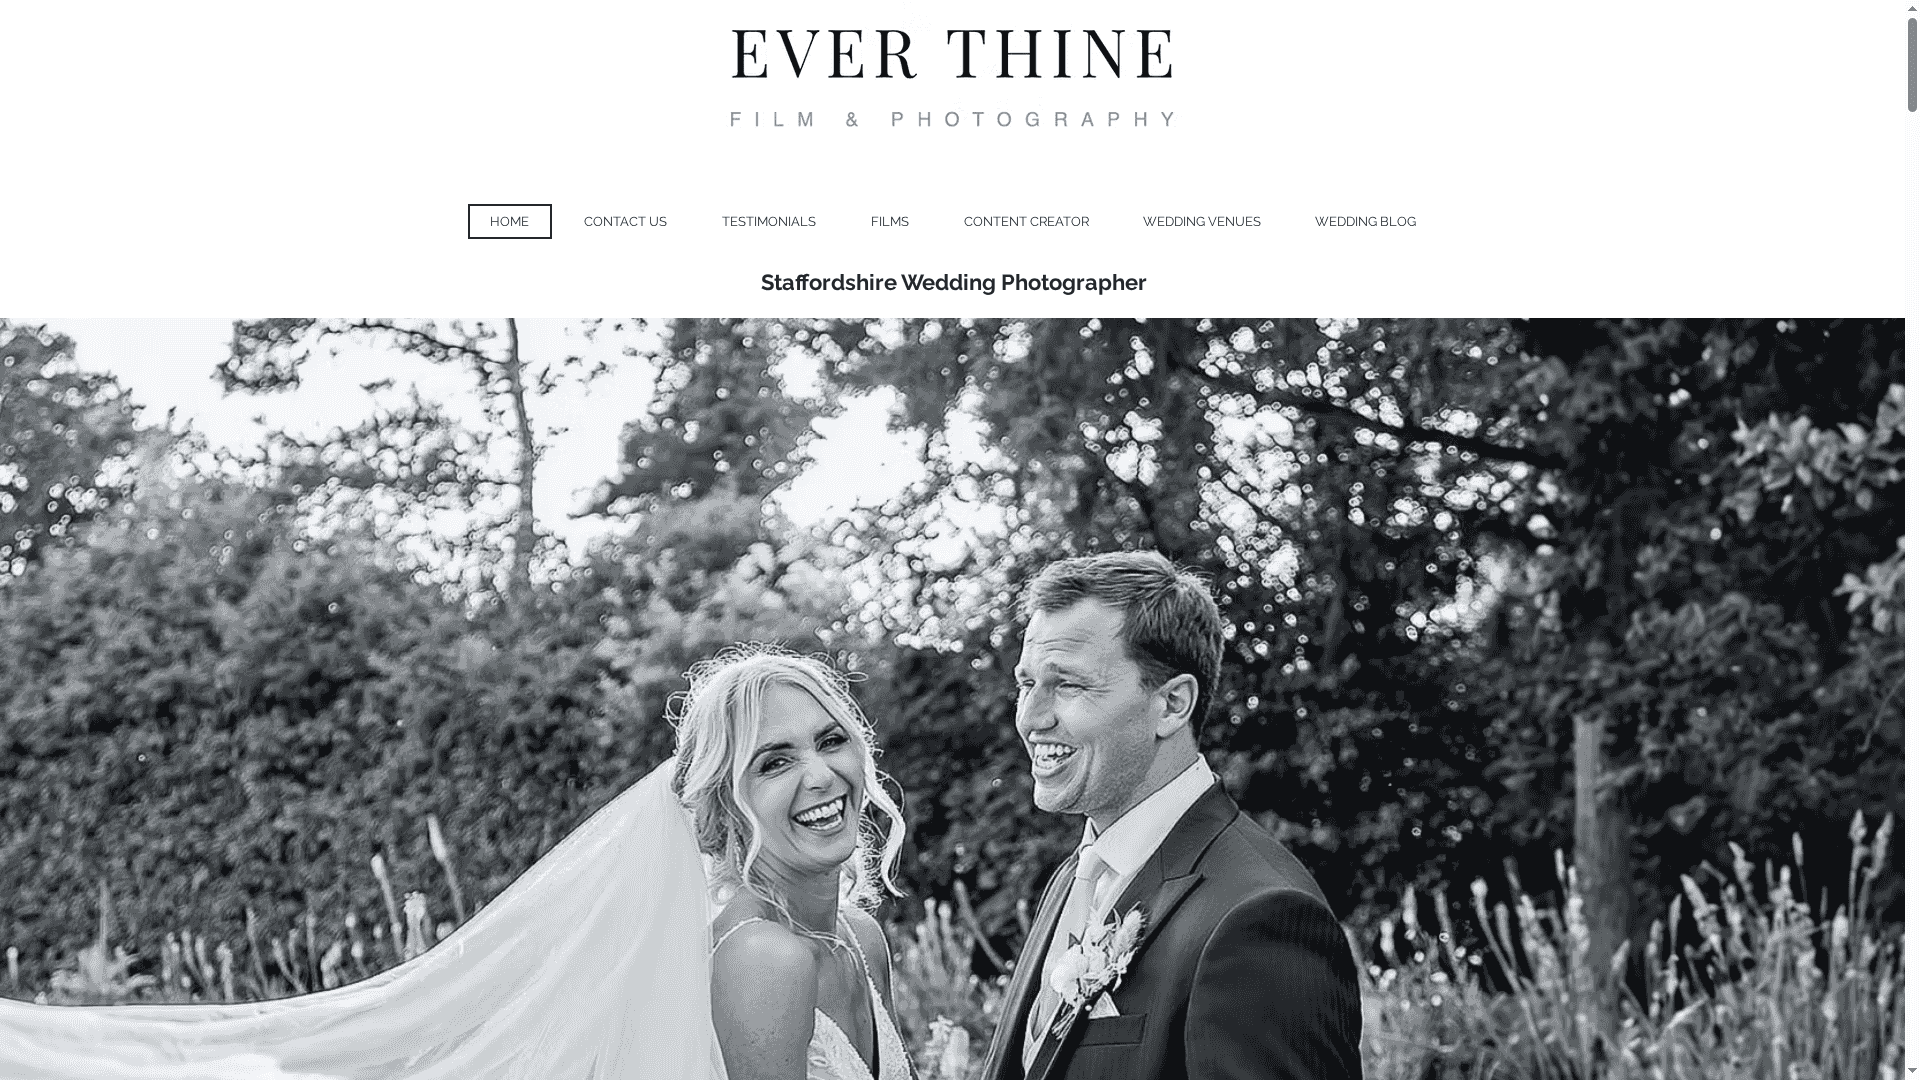
If your venue sits in the Midlands, take a look at wedding photography coverage in Derbyshire or Staffordshire, and get in touch to check your date and talk through the venue before you book anyone.
Sources
FAQ
What is the 30-minute rule for weddings?
It caps formal couple portraits at roughly 30 minutes total, split across two or three short sessions, so the rest of the day stays candid and documentary rather than posed.
What are common mistakes to avoid in barn wedding photography?
The biggest ones are bouncing flash off dark timber, relying on a single light source, and scheduling all portraits during harsh midday sun instead of golden hour.
What are the basic tips for taking good barn wedding photos?
Scout the light in advance, use short portrait slots, gel your flash to match warm ambient bulbs, drag the shutter during dancing, and always carry backup batteries and a second flash.
How do you light a very dark barn for photos?
Layer ambient string lights with accent and task lighting, then let off-camera flash sculpt the subject rather than lighting the whole room with a single harsh source.
Recommended


Comments