
Groom preparation tips: 12 essentials for your wedding day
- 11 minutes ago
- 10 min read
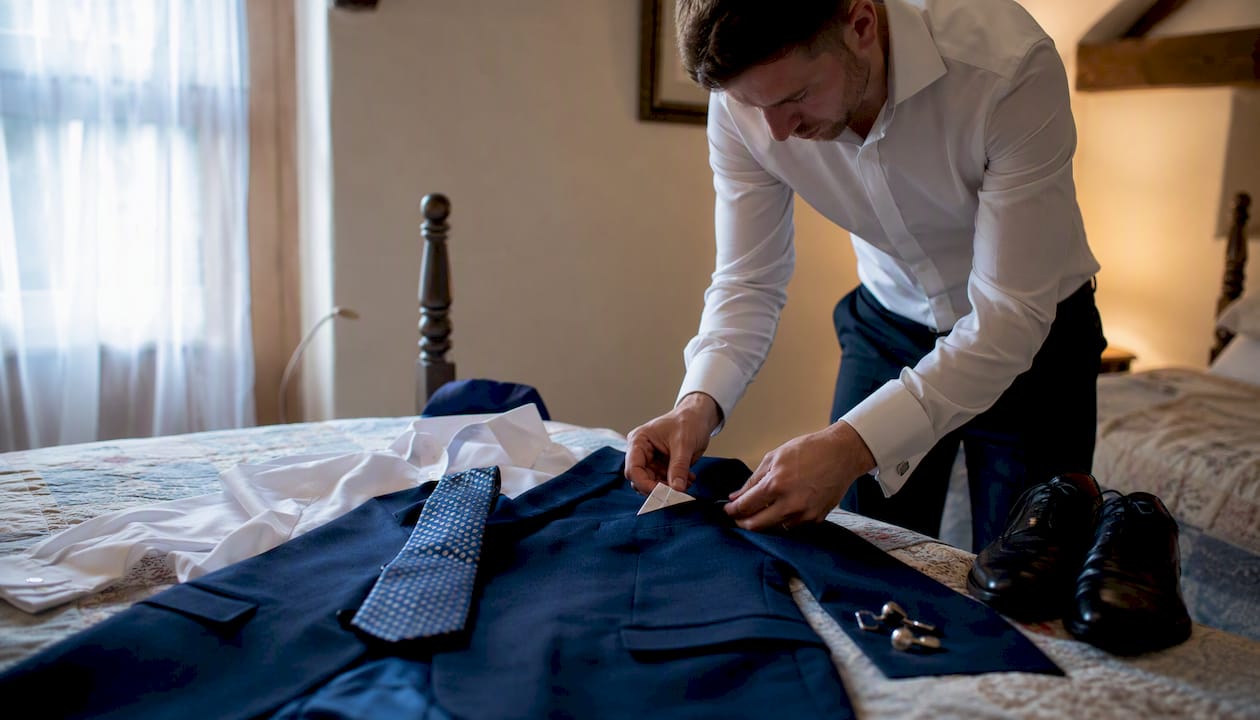
A calm, camera-ready groom is the result of a simple, time-ordered checklist followed from two weeks out to the morning itself. Follow a timeline, pack a kit, and the day runs itself.
The six things every groom must have sorted before the morning:
Rings confirmed with the best man
Full outfit laid out the night before (suit, shirt, tie, cufflinks, shoes)
Emergency kit packed and handed to the best man
Multiple alarms set with a 30-minute buffer
A proper meal planned for the morning
Photographer call time confirmed
The working habit to remember: test products two weeks out, do the primary shave the night before, and do a light touch-up on the morning.
Key takeaways
A calm, well-prepared groom follows a timeline that starts two weeks before the wedding, not the morning of.
Point | Details |
Test products two weeks out | Try new shaving products and skincare at least two weeks before to avoid skin reactions on the day. |
Primary shave the night before | Shave the evening before the wedding so any redness settles overnight; touch up lightly on the morning only. |
Lay everything out the night before | Suit, accessories, and emergency kit should be ready before you sleep to keep the morning calm. |
Allow 2–2.5 hours to get ready | Build your wake-up time backwards from the photographer’s start time, not from the ceremony. |
Weddingfilmphotography | Covers documentary getting-ready moments across Staffordshire, Derbyshire, and the West Midlands. |
Table of Contents
2. The night before: lay everything out and get to bed early
4. Your grooming checklist: hair, shaving, skin, nails and fragrance
8. Getting-ready photos: what your photographer actually needs
9. Choosing the right undergarments for comfort and appearance
10. Mental preparation and managing stress before the ceremony
What grooms get wrong about the morning (a photographer’s note)
1. Start your groom preparation tips two to four weeks out
Two weeks before the wedding is the last safe window to try anything new on your skin or face. A new razor blade, a different moisturiser, or an unfamiliar aftershave can cause redness or breakouts that take seven to ten days to settle. Test everything now, not the week before.
Confirm every supplier in the seven days before the wedding and do a full outfit dress rehearsal six days out. Put on the entire look: suit, shirt, tie, cufflinks, pocket square, shoes. Walk around. Sit down. Check the shoulder seam sits at the edge of your shoulder, not halfway down your arm. If anything needs a minor alteration, you still have time to fix it.
Arrange dry-cleaning or pressing at this stage, not the day before. Confirm your tailor, photographer, transport, and venue in writing.
Pro Tip: Designate your best man as ring custodian and logistics lead from this point forward. One person responsible for the rings and the morning schedule means one fewer thing in your head.
2. The night before: lay everything out and get to bed early
The evening before the wedding is not the time to improvise. Work through this list before you sleep:
Lay out the complete outfit: suit jacket and trousers, shirt, undershirt, socks, tie or bow tie, cufflinks, collar stays, pocket square, watch, and shoes
Pack the day-of emergency kit (see section 7)
Deliver the rings to your best man and confirm he knows the morning schedule
Confirm call times with groomsmen by text
Set at least two alarms, with the first giving you a 30-minute buffer before you actually need to be moving
For the evening itself: eat a light meal, skip anything heavy or unfamiliar, and avoid drinking more than you normally would. A new alcohol habit the night before a big day is a reliable way to feel rough by 8 AM. Get to bed at a reasonable hour. Sleep is the best grooming product you have.
3. A practical morning timeline from wake-up to departure
A groom’s getting-ready routine generally needs two to two-and-a-half hours from wake-up to departure. Build in buffer time for photos and the small delays that always happen.
Arrive at the venue 30–45 minutes before guests so you can collect yourself, confirm logistics with the coordinator, and greet early arrivals without feeling rushed. A groom who arrives with time to spare photographs completely differently from one who walked in two minutes before the ceremony.
Pro Tip: Ask your photographer what time they plan to start getting-ready shots. Build your wake-up time backwards from that, not from the ceremony time.
4. Your grooming checklist: hair, shaving, skin, nails and fragrance
Haircut timing
Book your haircut several days before the wedding, not the morning of. A fresh cut taken the day before looks sharp in the mirror but slightly severe in photographs. A few days of growth softens the edges and reads more naturally on camera.
Shaving strategy
Test your shaving products and blade two weeks out and do the primary shave the evening before the wedding. This gives any minor redness or irritation time to settle overnight. If you need a touch-up on the morning, use a single pass with a fresh blade at least two hours before photographs begin.
A numbered approach that works:
Two weeks out: test blade, foam or gel, and aftershave on a small area
One week out: switch to the confirmed products only, no experiments
Evening before: full primary shave with your tested setup
Morning of: light touch-up only if needed, single pass, no new products
Skincare, nails and fragrance
Moisturise daily in the two weeks before the wedding. Drink enough water. Camera flash and natural light both pick up dry, flaky skin far more than you expect. Keep nails clean and trimmed three days out. For fragrance, apply to pulse points after dressing, not before, and go lighter than you think you need to. A heavy scent in a warm room is uncomfortable for everyone nearby.
Pro Tip: Whiten your teeth with an over-the-counter kit two weeks before, not the night before. Some kits cause temporary sensitivity that makes eating uncomfortable.
5. Menswear and styling: the details that show up on camera
Fit is everything
The single most important thing your suit can do is fit correctly at the shoulder. If the seam sits off the edge of your shoulder, no amount of tailoring elsewhere will fix the silhouette. Check sleeve length too: around 1.5 cm of shirt cuff should show below the jacket sleeve.
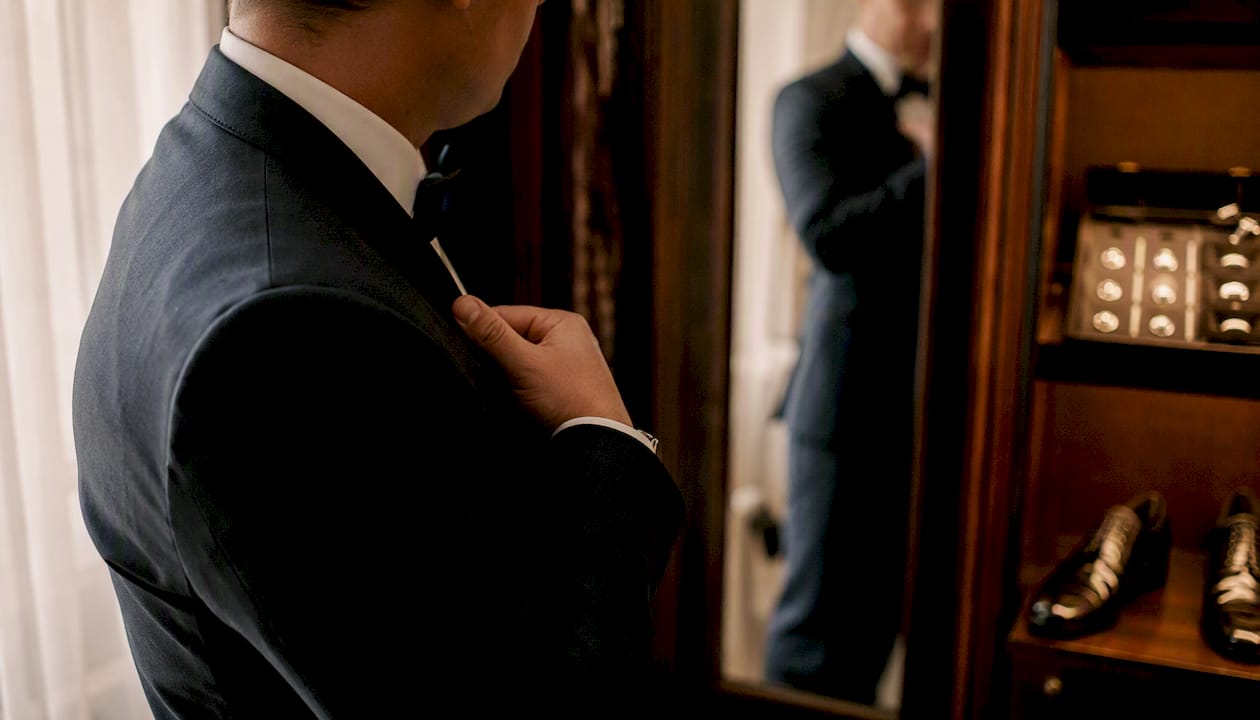
Buttons, pocket squares and ties
Leave the bottom button of a single-breasted jacket undone. Always. It is not a style choice, it is the rule, and breaking it reads immediately in photographs. Practice your tie or bow tie knot at least three times before the day. A bow tie tied by hand looks slightly imperfect and completely intentional; a pre-tied one looks exactly like what it is.
For the pocket square, a simple fold beats an elaborate one. It should complement the tie, not match it exactly.
Shoes and socks
Break your shoes in before the wedding by wearing them around the house for several evenings. New leather shoes on a long day are a reliable source of misery. Wear socks that reach mid-calf so no skin shows when you sit down or cross your legs.
Pro Tip: Wear a slim-fit undershirt in a colour that matches your shirt. It prevents sweat marks and keeps the shirt sitting cleanly against the body throughout the day.
Weather contingencies
If the forecast is wet, choose a wool or wool-blend suit over linen. Linen creases badly in humidity and loses its shape in rain. Have a plan for an umbrella and a coat that does not clash with the outfit. In hot weather, a lighter fabric and a spare shirt in the car are worth the small effort.
6. The day-of emergency kit every groom should carry
Pack this the night before and hand it to your best man. Keep it in a small pouch or washbag so it is accessible without rummaging.
Clothing repairs:
Spare shirt buttons and a small sewing kit
Safety pins (at least four)
Lint roller
Stain remover pen (Tide To Go or similar)
Clear nail polish for a loose thread or minor snag
Personal care:
Deodorant
Beard comb or small brush
Small amount of hair product
Breath mints
Plasters (blisters from new shoes are common)
Pain relief (ibuprofen or paracetamol)
Groom-specific:
Spare pocket square
Compact umbrella
Cash for supplier tips
Rings confirmed with the best man before you leave
A small travel steamer or iron kept at the getting-ready location handles last-minute creases that always appear after transport.
7. Food, drink and staying calm on the morning
Eat a proper breakfast. A protein-forward meal (eggs, Greek yoghurt, smoked salmon) keeps blood sugar stable for several hours without the bloating that comes from heavy carbohydrates. If your ceremony is in the afternoon, eat a light lunch two hours before. Skipping food to avoid nerves is the opposite of helpful; low blood sugar makes anxiety worse, not better.

Drink water consistently from the moment you wake up. Dehydration shows on skin and in energy levels. Limit alcohol until after the ceremony. One drink to settle nerves is a common habit; two or three before you walk down the aisle is a different matter entirely.
Pro Tip: Try box breathing before the ceremony: inhale for four counts, hold for four, exhale for four, hold for four. Repeat three times. It activates the parasympathetic nervous system and reduces the physical symptoms of adrenaline within about 90 seconds.
Do:
Eat breakfast, even if you are not hungry
Drink water throughout the morning
Step outside for five minutes of fresh air before dressing
Don’t:
Drink heavily the night before or the morning of
Eat anything unfamiliar or very spicy
Skip meals to “save room” for the wedding breakfast
8. Getting-ready photos: what your photographer actually needs
Well-paced getting-ready time produces relaxed, candid images. A rushed morning produces tense, staged ones. Your photographer will typically start with detail shots (rings, cufflinks, shoes, tie) before moving to the action of getting dressed.
Give them these moments deliberately:
Putting on the jacket with a groomsman’s help
Tying the tie or bow tie
Fastening cufflinks
Exchanging letters or gifts with your partner (if you are doing this)
A quiet moment with your father or a close friend
Practical things the photographer will thank you for:
Clean, pressed sleeve for cufflink shots
No phone visible in a trouser pocket (it creates a visible bulge)
Boutonniere pinned before photos begin
A well-lit room: natural light from a window beats overhead lighting every time
For groom photo preparation, a first look before the ceremony is worth considering. It produces calmer portraits and often reduces nerves for both partners before the ceremony itself begins.
9. Choosing the right undergarments for comfort and appearance
The right base layer does more than you might expect. A well-fitted undershirt in a neutral tone (white or skin-matching) prevents sweat from showing through a dress shirt and keeps the shirt sitting flat against the chest. Avoid V-neck undershirts with a standard collar; a deep V-neck or crew-neck cut below the shirt collar is the right choice.
For trousers, fitted boxer briefs in a smooth fabric prevent bunching and keep the trouser line clean. Avoid anything with thick seams or waistbands that sit high, as both can show through slim-fit trousers. Comfort matters as much as appearance here: you will be wearing this outfit for eight to twelve hours.
10. Mental preparation and managing stress before the ceremony
The morning of a wedding is genuinely high-stakes, and it is normal to feel it. The most effective thing you can do is remove decisions. Every item laid out the night before, every call time confirmed, every logistical question handed to the best man, is one less thing your nervous system has to process on the morning.
Give yourself a task during the getting-ready period. Helping a groomsman with his tie, reading a letter from your partner, or simply sitting with your father for ten minutes all serve the same function: they keep you present and connected rather than running through a mental checklist of things that might go wrong.
If anxiety spikes, return to the breathing exercise in section 7. Physical symptoms of nerves (racing heart, dry mouth, shaky hands) respond to controlled breathing faster than to reassurance. The ceremony itself tends to feel calmer than the hour before it.
What grooms get wrong about the morning (a photographer’s note)
The grooms who look best in photographs are almost never the ones who spent the most time in front of a mirror. They are the ones who were genuinely present during the getting-ready period: laughing with their groomsmen, reading a note from their partner, taking a quiet moment before dressing.
The single behavioural tip that improves almost every photograph is simple: look at something real, not at the camera. When you are putting on your jacket, look at the jacket. When you are talking to your best man, look at him. Candid attention reads on camera in a way that a posed expression almost never does.
Your best man and your wedding coordinator exist to handle logistics so you do not have to. Let them. Your job on the morning is to be present, to eat, to breathe, and to enjoy the fact that you are about to get married.
Weddingfilmphotography captures your getting-ready story
The getting-ready hour is where the real story starts. Weddingfilmphotography specialises in documentary wedding photography and cinematic videography across Staffordshire, Derbyshire, Worcestershire, and the wider West Midlands, capturing the candid, unposed moments that happen before a single guest arrives: the cufflinks going on, the quiet word with a groomsman, the letter read by a window.
[

There are no stiff directions and no manufactured poses. The approach is natural and unobtrusive, built around the kind of images that still feel true ten years from now. If you are planning your wedding in the Midlands and want a photographer who understands how to work with a groom’s morning timeline, check availability for your date through the Staffordshire or Derbyshire pages. Dates fill quickly, so an early enquiry is worth making.
Sources
The sources below cover photography timing, shaving schedules, and morning checklists in practical detail. They are the primary references used throughout this article.
FAQ
What should a groom do the week before the wedding?
Confirm every supplier in writing, complete a full outfit dress rehearsal six days out, and stop introducing new grooming products. Test your shave setup at least two weeks before, so the week itself is about confirmation, not experimentation.
What should a groom never forget on the wedding day?
The rings, handed to the best man the night before. Beyond that: eat breakfast, arrive at the venue 30–45 minutes early, and carry a compact emergency kit with safety pins, a lint roller, and a stain remover pen.
How long does a groom need to get ready on the morning?
Allow two to two-and-a-half hours from wake-up to departure. That covers showering, grooming, dressing, and getting-ready portraits with the photographer, with buffer time for the small delays that always happen.
What is the best time to get a haircut before a wedding?
Five to seven days before the wedding. A cut taken the morning of or the day before looks slightly severe in photographs; a few days of growth softens the result and reads more naturally on camera.
Recommended


Comments