
How to relax in front of the camera: simple, practical tips
- Aug 11
- 14 min read

You can look and feel natural on camera by shifting your attention outward and using two short physical resets before each shot. That is the short answer. Here are three things you can try in the next 60 seconds:
Breath reset: Inhale for four counts, hold for four, exhale for four. One round is enough to lower your heart rate noticeably.
Shift attention outward: Look at something specific in the room — a colour, a texture, a person’s expression. Stop watching yourself.
Small movement: Roll your shoulders back and down, then shake out your hands. Stillness locks tension in; movement releases it.
Research on camera anxiety suggests nearly a third of people have avoided or deleted photos to escape the discomfort of being evaluated. So if a camera makes you freeze, you are in very good company. The quickest long-term change is practising outward focus and short physical resets until they become automatic.
Pro Tip: Before any shoot or video call, do one breath reset and one shoulder drop. Two minutes of this before you walk in front of a lens changes how your body reads the situation.
Key takeaways
Shifting attention outward, using short physical resets, and practising in small steps are the three most reliable ways to feel and look natural in front of a camera.
Point | Details |
Shift attention outward | Focus on a person, object, or memory rather than monitoring your own image. |
Use physical resets | Box breathing, shoulder drops, and a jaw loosener take under 90 seconds and visibly reduce tension. |
Brief your photographer | Tell them what makes you nervous and ask for test shots, verbal feedback, and a slow start. |
Practise in graded steps | Start camera-off, build to short self-recordings, then low-stakes shoots over five or more weeks. |
Weddingfilmphotography | Offers documentary-style, prompt-led sessions designed for couples who feel camera-shy. |
Table of Contents
Why does a shoot feel like a test, and how do you stop it?
The core problem with camera anxiety is not vanity. It is self-monitoring: the moment a lens points at you, part of your brain switches from experiencing the moment to watching yourself experience it. That split attention is exhausting, and it shows on your face.
The fix is to redirect attention outward. Practical guidance from clinical psychologists confirms that shifting focus away from self-monitoring and onto the environment or another person interrupts the anxiety cycle in real time. You cannot fully self-monitor and fully engage with something external at the same time.
A few prompts that work:
Tell yourself a story. Instead of thinking “am I smiling right?”, think “what do I love about this place?” or “what made me laugh this morning?” Real emotion produces real expressions.
Focus on the other person. For couples or group shots, look at the other person as though you are about to say something. The camera stops being the point.
Use a positive self-statement. Something simple: “I am here to enjoy this, not to perform.” Repeat it before the shoot starts.
Visualisation also helps. Spend two minutes the night before imagining the shoot going well: the light, the laughter, the ease. Athletes use this before competition for good reason. It primes your nervous system to expect a positive outcome rather than a threat.
Pro Tip: Write one short self-statement on your phone and read it in the car on the way to the shoot. Something grounded and specific works better than generic affirmations — “I am good at being present” beats “I am beautiful and confident” every time.
Three 60-second physical resets that release tension fast
Tension lives in the body before it shows on the face. These three micro-resets take under 90 seconds combined and work whether you are about to step in front of a camera or join a video call.
Box breathing
Sit or stand upright. Breathe in through your nose for four counts.
Hold for four counts.
Breathe out slowly through your mouth for four counts.
Hold for four counts.
Repeat twice more.
Shoulder drop
Lift both shoulders up towards your ears as high as they will go.
Hold for three seconds.
Drop them completely. Let gravity do the work.
Repeat three times.
Jaw loosener
Clench your jaw gently for two seconds.
Release and let your mouth fall slightly open.
Move your jaw slowly side to side twice.
Rest with your tongue lightly touching the roof of your mouth and your teeth apart.
These resets work because tension in the jaw and shoulders feeds directly into facial expression. A clenched jaw produces a tight smile; dropped shoulders change your whole posture.
Pro Tip: Use these between shots, not just at the start. Ask your photographer for a ten-second pause every few minutes. Good photographers expect this — experienced headshot photographers routinely build short breaks into sessions precisely because clients relax in stages, not all at once.

What to do with your hands and how to move naturally
Frozen poses look frozen because the body is not designed to hold still. The single most useful rule: keep something moving, even slightly. A tiny weight shift, a slow breath out, a gentle turn of the wrist — any micro-movement breaks the statue effect.
Three movement rules to remember:
Shift your weight onto one hip. Standing square to the camera looks stiff. One hip forward, slight bend in the front knee.
Angle your body 45 degrees. Facing the lens dead-on is rarely flattering. Turn your torso slightly away and bring your face back towards the camera.
Give your hands a job. Hands hanging at your sides look awkward because they have nothing to do. Hold something, touch something, or rest them somewhere with purpose.
A short pose library
Hands in pockets (one or both): Thumbs out, fingers in. Relaxed and natural for most body types.
Arms crossed loosely: Hands resting on forearms, not gripping. Works for confident, relaxed portraits.
One hand on face: Chin rest or cheek touch. Adds interest and gives the hand a clear purpose.
Walking towards the camera: Slow, natural pace. Movement removes the “posing” feeling entirely.
For couples — touch points: One hand on a shoulder, fingers interlaced, forehead to forehead. Physical contact between two people creates genuine warmth the camera reads immediately.
Looking away: Turn your gaze to the side or down. Removes the pressure of eye contact with the lens and often produces the most natural expressions.
Photographers typically prompt these with short phrases: “walk slowly towards me,” “look at each other like you’re about to say something,” “shake out your hands and then rest them.” Follow the prompt literally rather than thinking about it. Natural posing guides consistently show that movement-based direction produces more authentic images than static holds.
Pro Tip: If you are not sure what to do with your hands, touch your face lightly or adjust your clothing. It looks intentional and breaks the “where do I put these?” paralysis instantly.

What to wear so you feel comfortable and move easily
Clothing affects confidence more directly than most people expect. If you are pulling at a hem or conscious of a waistband, that discomfort shows. The rule is simple: choose something you can move in and that feels like you.
Do:
Wear fabrics that breathe and stretch slightly (cotton, jersey, linen blends).
Choose a fit you have worn before. A new outfit you have never moved in is a risk.
Pick solid colours or subtle textures. They photograph cleanly and keep attention on your face.
Add one accessory that makes you feel like yourself — a watch, earrings, a scarf.
Bring a second outfit option. Having a choice on the day reduces pressure.
Don’t:
Wear tight waistbands or anything that restricts your breathing.
Choose bold stripes or very busy patterns — they can distort on camera and draw the eye away from your face.
Wear a brand-new pair of shoes if you will be standing for a long time.
Match outfits too precisely for couples’ shoots — complementary tones work better than identical colours.
A quick pre-shoot wardrobe check: sit down in your outfit, raise your arms, and turn side to side. If anything pulls, rides up, or feels uncomfortable in that 30-second test, swap it. For more on looking natural in photos, the principle is the same: comfort first, style second.
How to brief your photographer so they help you relax
Tell your photographer what makes you nervous before the session starts. That single step changes the dynamic from “being directed” to “working together.” Most photographers genuinely want to know — it helps them pace the session and choose their prompts carefully.
Questions worth asking before the shoot:
Can we start with a few test shots while I get used to the light?
Will you show me a preview image early on so I can see how it looks?
How do you usually pace a session — do we move around a lot or stay in one spot?
Can I ask for a short break if I need one?
What should I do with my hands if I am not sure?
On the day, a few specific requests make a real difference:
Ask for a slow start. Five minutes of chatting before any shooting begins settles nerves faster than anything else.
Ask for verbal feedback. “That looks great” after a frame costs the photographer nothing and gives you something to build on.
Ask for music. Background music shifts the atmosphere and gives you something to move to.
Ask to see a preview shot. Experienced photographers report that showing clients a strong early image typically dissolves nerves within the first ten minutes of a session.
Pro Tip: Send a short message to your photographer the day before. Something like: “I tend to feel a bit stiff at the start — I’d love a gentle warm-up.” A good photographer will plan around it. For couples, reading a groom preparation guide together beforehand means you both arrive with the same expectations.
How to practise so being on camera gets easier
Avoidance keeps camera anxiety alive. The only reliable way to reduce it is gradual, repeated exposure — starting so small that it barely feels like a challenge, then building from there.
A simple graded practice plan:
Week 1 — camera off: Join video calls with your camera off. Get comfortable with the format and the sound of your own voice in a group.
Week 2 — camera on, low stakes: Turn your camera on for one-to-one calls with someone you trust. No performance pressure, just presence.
Week 3 — short self-recording: Record a 30-second video of yourself talking about something you know well. Watch it back once. Notice what you actually look like versus what you imagined.
Week 4 — phone photo practice: Ask a friend to take ten casual photos of you in natural light. Review them together. Pick one you like.
Week 5 onwards — repeat and extend: Lengthen the recordings, try different settings, book an engagement shoot as a low-stakes practice session before a wedding.
The key insight from clinical guidance: graded exposure works not simply by increasing the number of times you face a camera, but by changing what your nervous system expects to happen when the camera is on. Each positive experience rewrites the prediction.
Clinical and practical guidance consistently recommends this kind of progressive, camera-on practice as the most reliable route to lasting comfort. Short, frequent sessions beat one long ordeal every time.
On-the-day environment, lighting and quick warm-ups
Simple environmental changes often produce the biggest shift in how a shoot feels. You do not need a studio or special equipment — a few small adjustments make the space feel less threatening.
Lighting and background:
Natural, diffused light (near a window, outdoors in open shade) is the most forgiving. Harsh overhead light creates shadows that make everyone look tense.
A clean, uncluttered background keeps attention on you rather than the scene behind you.
For video calls, position your camera at eye level or slightly above. A lens pointing up at you from a laptop on a desk is unflattering and feels exposing.
Avoid sitting with a bright window directly behind you — it turns you into a silhouette.
Quick warm-up routine:
Arrive five minutes early and walk around the space. Familiarity reduces threat.
Do one round of box breathing before the photographer picks up the camera.
Shake out your hands and roll your shoulders. Do it in front of the photographer — it signals that you are warming up, not that you are nervous.
For couples, make brief physical contact (hold hands, a quick hug) before the first frame. It resets the nervous system and creates immediate warmth in the images.
Taking short breaks every 15–20 minutes during a longer session prevents the cumulative tension that builds when you push through discomfort. Bridal prep photography sessions use exactly this rhythm — candid moments between posed ones, with natural pauses built in.
One-minute fixes for forehead tension, jaw clench and forced smiles
These three problems show up in almost every set of photos taken with a nervous subject. Each has a quick, repeatable fix.
Forehead tension
Raise your eyebrows as high as they go. Hold for two seconds.
Release completely and let your face go slack.
Repeat once.
The contrast between maximum tension and full release resets the muscles more effectively than simply trying to “relax.” Face-relaxation techniques suggest making a small expression change between each shutter click — even a micro-shift keeps the face alive rather than locked.
Jaw clench
Open your mouth wide, as if yawning. Hold for three seconds.
Close gently, keeping your teeth slightly apart.
Rest your tongue on the roof of your mouth.
A slightly open jaw and separated teeth produce a softer, more natural expression than a closed, clenched mouth. Repeat this between frames whenever you feel the jaw tightening again.
Forced smile
Think of a specific memory that makes you genuinely happy — not “smile,” but the actual memory.
Say a word out loud just before the shutter fires. Any word. The mouth position after speaking looks natural in a way that a held smile never does.
Ask the photographer to count down from three and shoot on the exhale. Smiling on an exhale is softer and more real than holding a grin through a long pause.
Mindset prompts that summon genuine memories consistently produce more authentic expressions than instructions to “look happy.” The memory does the work; the face follows.
What research tells us about self-view and camera anxiety
Self-view raises anxiety. That is the clearest finding from recent experimental work. A 2026 study on online videoconferencing found that state anxiety was measurably higher when participants had their camera on, with self-view and audience presence both contributing to the effect.
Seeing yourself on screen while trying to engage with others creates a split-attention problem: part of your cognitive load goes to monitoring your own image, which leaves less capacity for the conversation — and more room for self-critical thoughts to take hold.
This is not just a video-call problem. The same mechanism operates during photo shoots. Practitioner commentary explains that camera anxiety is partly a learned alarm response: the nervous system has been trained to expect something threatening when a lens appears, and that expectation perpetuates the anxiety regardless of how the shoot actually goes.
What to do about it:
On video calls: hide your self-view. Most platforms allow this. You can still be seen; you just stop watching yourself.
During shoots: look at the photographer’s face rather than the lens when you need a moment to reset.
In practice sessions: watch your recordings once, neutrally, then close them. The goal is familiarity, not self-critique.
Change the expected outcome: each positive shoot experience gradually updates your nervous system’s prediction. That is why graded exposure works — not just because you face the camera more, but because the expected threat fails to materialise.
When camera anxiety needs professional support
Normal nerves before a shoot are exactly that — normal. But if camera anxiety is stopping you from attending events, affecting your work (particularly if video calls are part of your job), or causing significant distress that lasts well beyond the shoot itself, it is worth taking seriously.
Signs that professional support might help:
You avoid video calls or cancel shoots repeatedly, even when it matters professionally or personally.
The anxiety feels disproportionate and you cannot talk yourself out of it.
Physical symptoms (racing heart, nausea, shaking) are severe or persist for a long time after.
The avoidance is spreading to other social situations.
Where to go in the UK:
Your GP is the first port of call. They can refer you to NHS talking therapies or assess whether medication might help alongside therapy.
NHS Talking Therapies (previously IAPT) offers free CBT and other evidence-based treatments for anxiety in England. Scotland, Wales and Northern Ireland have equivalent services.
A CBT specialist can work directly on the learned alarm response that underpins camera anxiety — changing the nervous system’s expectation, not just increasing exposure.
Graded exposure is used clinically in exactly the way described in the practice section above, but a therapist can pace it more carefully and address the underlying beliefs that keep the anxiety going. Medication (typically SSRIs) is sometimes considered for severe social anxiety, always alongside therapy rather than instead of it.
Pro Tip: If you are not sure whether your anxiety is “bad enough” to seek help, that uncertainty is itself a reason to have a conversation with your GP. There is no threshold you have to cross first.
A photographer’s note on helping clients relax
The most reliable thing a photographer can do to calm a nervous client is to set the tone before the camera comes out. Small rituals — a walk around the location, a few minutes of conversation about anything other than the shoot, showing the first test shot early — change the entire arc of a session.
What I have seen work consistently: clients who arrive tense and leave with images they love almost always had one thing in common. They were given clear, small directions rather than vague instructions to “look natural.” Telling someone to look natural is like telling someone to fall asleep — the instruction creates the opposite of the intended effect. Telling them to “walk slowly towards me and look back over your shoulder” gives the body something specific to do, and the face follows.
The preview shot is particularly powerful. Showing a client a strong image within the first ten minutes of a session shifts their internal narrative from “I look terrible on camera” to “oh, that actually looks good.” From that point, the session usually flows. Professional direction and experience are not just about technical skill — they are about creating the conditions in which a person can stop performing and start being themselves.
Weddingfilmphotography: relaxed, documentary-style coverage for couples who hate posing
If the idea of a formal photo session makes you anxious, the answer is not to avoid being photographed on your wedding day. It is to work with a photographer who builds relaxation into the process from the start.
[
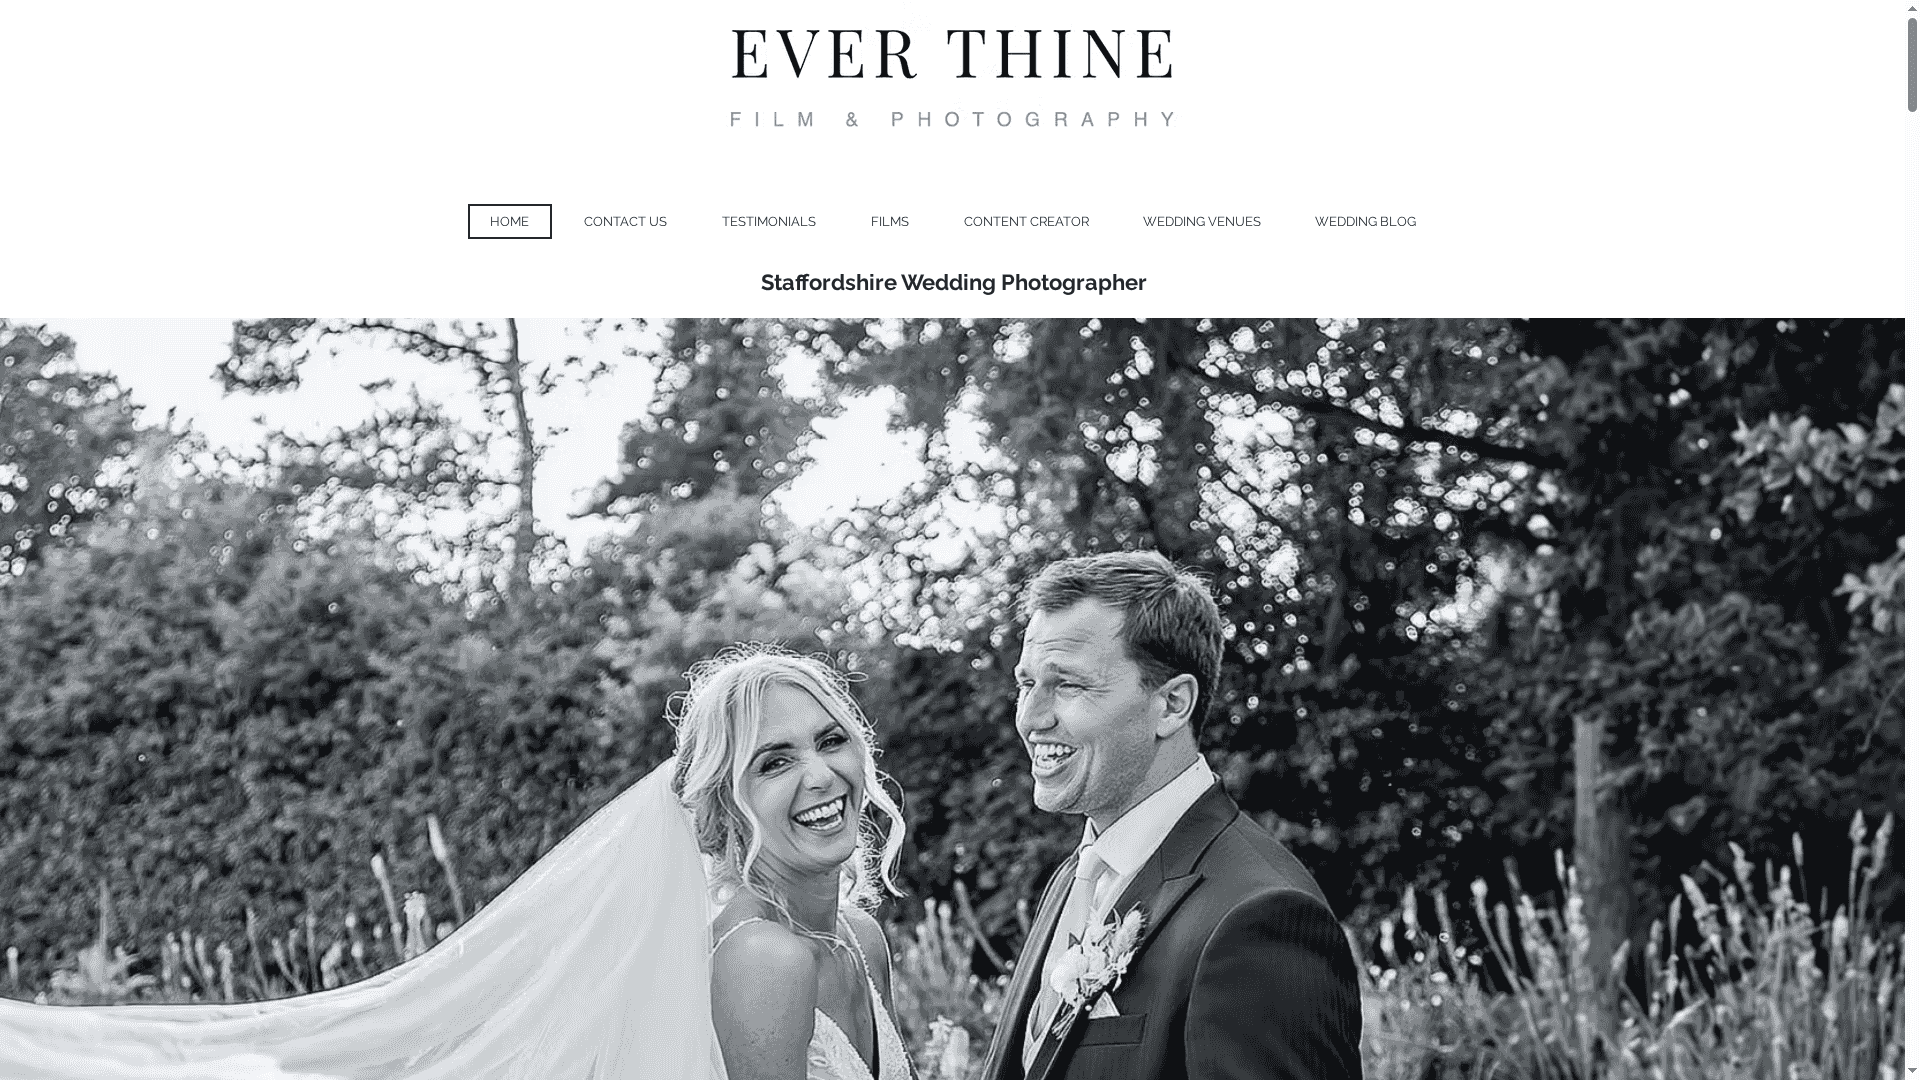
Weddingfilmphotography specialises in documentary-style wedding photography and cinematic videography across Staffordshire, the West Midlands, and the wider UK. The approach is built around candid, unobtrusive coverage — no rigid posing, no barked instructions, no line-up-and-smile moments that make everyone freeze. Sessions begin with a relaxed pre-shoot conversation, a gentle warm-up, and clear, small prompts that give you something natural to do rather than something to perform.
Couples who describe themselves as “terrible in front of a camera” consistently find that the right photographer removes the problem entirely. The images look natural because the session felt natural. To check availability or ask a question before committing to anything, get in touch with the Staffordshire team or explore wedding photography in Derbyshire.
Sources
This article is general information, not a substitute for advice from a qualified doctor. Consult a qualified healthcare professional about your own circumstances before acting on anything here.
FAQ
How do you feel more relaxed in front of the camera?
Shift your attention outward — focus on a person, object, or memory rather than watching yourself. Combine this with a short physical reset (box breathing and a shoulder drop) immediately before the shoot starts.
How do you loosen up when you feel stiff on camera?
Give your body something specific to do: shift your weight onto one hip, angle your torso 45 degrees, and keep one small movement going throughout the frame. Stillness locks tension in; even a slow exhale during the shot helps.
How do you relax your forehead in photos?
Raise your eyebrows as high as they go, hold for two seconds, then release completely. Repeat between frames. Making a small expression change with each shutter click also prevents the forehead from locking into a single tense position.
How do you stop looking awkward on camera?
Tell your photographer what makes you nervous before the session begins, ask for a slow start with test shots, and request verbal feedback after each frame. Experienced photographers report that showing clients a strong preview image within the first ten minutes typically dissolves most of the awkwardness.
Recommended


Comments