
Step by step wedding video editing guide for couples
- Mar 23
- 9 min read

Editing your own wedding video can feel overwhelming when you’re faced with hours of raw footage and unfamiliar software. Many couples dream of creating a personal, cinematic film that captures their special day, but don’t know where to start. With the right preparation and a clear step by step approach, you can transform your footage into a beautiful wedding film that tells your unique love story. This guide breaks down the entire editing process into manageable steps, from organising your clips to exporting the final video, empowering you to create a professional looking film without prior experience.
Table of Contents
Key Takeaways
Point | Details |
Organised footage matters | Create clear folders and structure your footage by event segment so you can locate clips quickly during editing. |
Plan narrative flow | Plan the film’s narrative before you edit by watching all clips and deciding whether to follow a chronological or thematic structure. |
Choose suitable software | Choose software that matches your budget and experience, and ensure your computer can handle the project you plan. |
Edit for pace | Trim ruthlessly to keep the story engaging and aim for a final length of 10 to 20 minutes for highlights or 45 to 60 minutes for a full edit. |
Use simple transitions | Keep transitions simple and avoid overusing effects so the film feels natural and focused on the moments. |
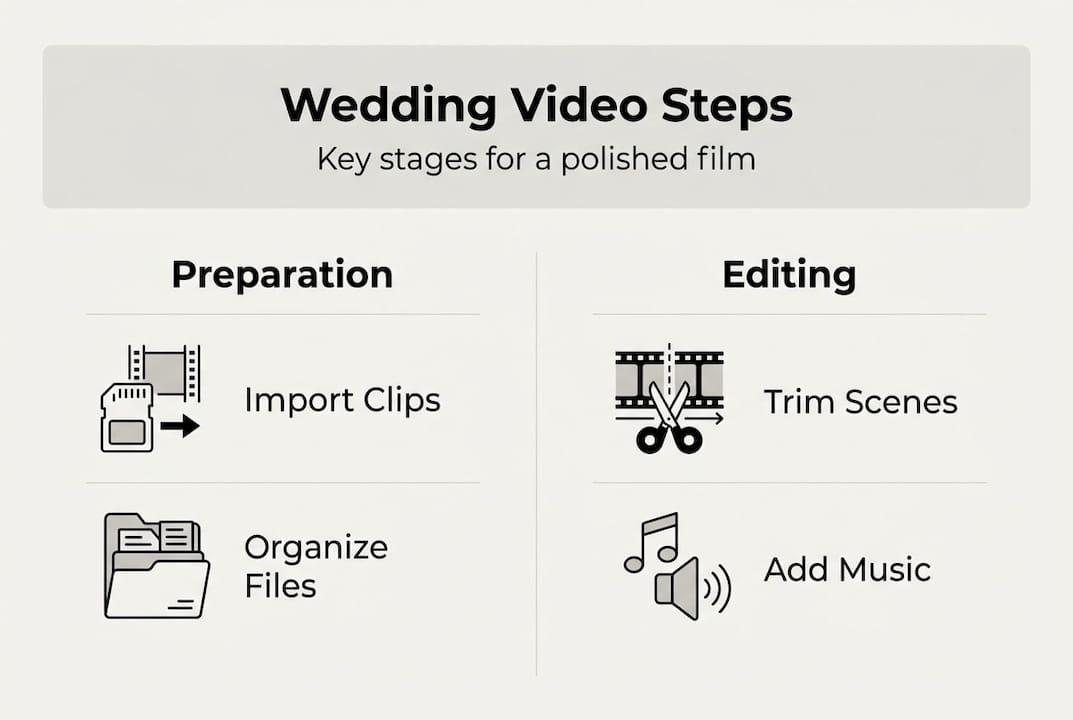
Essential preparation for wedding video editing
Before you open any editing software, proper preparation sets the foundation for a smooth editing experience. Gathering and organising your raw footage might seem tedious, but it saves countless hours of searching through clips later. Create a clear folder structure on your computer with categories like ceremony, reception, speeches, and candid moments. This systematic approach helps you locate specific clips quickly when building your narrative.
Choosing the right video editing software depends on your experience level and budget. Beginners often find success with user friendly options like iMovie or DaVinci Resolve’s free version, whilst those with some experience might prefer Adobe Premiere Pro or Final Cut Pro. Preparing your footage and selecting the right software are foundational steps that determine how efficiently you’ll work. Consider your computer’s processing power when selecting software, as video editing demands significant resources.
Planning your wedding film’s narrative flow before editing prevents aimless clicking through footage. Watch all your clips once to identify the strongest moments, emotional highlights, and natural story beats. Decide whether you want a chronological structure or a more creative approach that weaves together themes. A wedding video creation guide can help you visualise different storytelling structures.
Pro Tip: Create a shot list spreadsheet noting the timecode of your favourite moments as you review footage. This reference document becomes invaluable during editing when you need to quickly find that perfect smile or touching speech moment.
Essential preparation checklist:
Transfer all footage from cameras and phones to your computer
Create organised folders by event segment and camera source
Back up raw footage to an external hard drive or cloud storage
Install and familiarise yourself with your chosen editing software
Watch through all footage once to identify key moments
Plan your film’s approximate length and structure
Preparation task | Time required | Priority level |
Organising and labelling footage | 2-3 hours | Critical |
Selecting editing software | 1 hour | High |
Planning narrative structure | 1-2 hours | High |
Creating backup copies | 1 hour | Critical |
Initial footage review | 3-4 hours | Medium |
Step by step instructions for editing your wedding video
Start by importing your organised clips into your editing software and creating a new project with settings that match your footage’s resolution and frame rate. Most modern wedding videos use 1080p or 4K resolution at 24, 25, or 30 frames per second. Arrange your clips on the timeline in rough chronological order, creating a basic skeleton of your wedding day. This initial assembly doesn’t need to be perfect; you’re simply establishing the flow.
Trimming and cutting footage transforms hours of raw material into an engaging story. Following an established editing workflow ensures you maintain momentum and don’t get lost in details. Remove awkward pauses, unflattering moments, and repetitive content whilst keeping the emotional peaks. Aim for a final length of 10 to 20 minutes for a highlights film, or 45 to 60 minutes for a full ceremony and reception edit. Every clip should serve the story; if it doesn’t add value, cut it.
Transitions connect your scenes and maintain visual flow without drawing attention to themselves. Simple cuts work beautifully for most wedding films, creating a natural documentary feel. Use crossfades sparingly for emotional moments or time transitions, and avoid flashy effects that date quickly. The best transitions are invisible, allowing viewers to focus on your story rather than editing techniques.

Adding music transforms your wedding video from a collection of clips into an emotionally resonant film. Choose licensed music or tracks you have permission to use, ensuring the tempo and mood match each section. Start with your ceremony entrance or a powerful moment, then build the soundtrack around that anchor point. Lower music volume during speeches and vows so dialogue remains clear, then bring it back up for dancing and celebration sequences.
Pro Tip: Use J cuts and L cuts to create seamless audio transitions between scenes. A J cut brings in the audio from the next scene before the visual cut, whilst an L cut extends audio from the previous scene into the next visual. These techniques create professional flow that keeps viewers engaged.
Step by step editing workflow:
Import all organised footage into your editing software project
Create a rough assembly by placing clips in chronological order
Watch through the entire assembly and mark your favourite moments
Trim clips to remove unwanted content and tighten pacing
Refine the sequence by reordering clips for better narrative flow
Add transitions between scenes where appropriate
Import and place your music tracks on the audio timeline
Adjust audio levels to balance music, dialogue, and ambient sound
Add text overlays for names, dates, or special messages
Review the entire edit and make final adjustments
Editing technique | When to use | Impact on film |
Simple cuts | Most transitions | Clean, professional flow |
Crossfades | Emotional moments, time shifts | Gentle, romantic feel |
J cuts and L cuts | Dialogue transitions | Seamless audio continuity |
Speed ramping | Dramatic entrances, first dance | Cinematic emphasis |
Colour grading | Final polish | Cohesive mood and style |
Explore creative wedding editing techniques to add unique touches that reflect your personality whilst maintaining a cohesive style throughout your film.
Common challenges and how to avoid editing mistakes
Abrupt cuts and jarring transitions disrupt viewer engagement and make your film feel amateurish. This happens when you cut in the middle of movement or switch between dramatically different shots without visual bridging. Solve this by cutting on action, where movement from one shot flows naturally into the next. Match the rhythm of your cuts to your music’s beat, creating a subconscious harmony that feels satisfying to watch.
Maintaining consistent colour and lighting keeps your film cohesive, especially when footage comes from multiple cameras or different times of day. Indoor ceremony footage often has warm, amber tones whilst outdoor shots appear cooler and bluer. Apply basic colour correction to balance white levels and exposure across all clips before adding any creative colour grading. This foundational step ensures your film doesn’t look disjointed.
Overusing effects and filters tempts many beginners who want their film to look “professional,” but subtlety creates true professionalism. Editing mistakes can undermine emotional impact, turning touching moments into distracting spectacles. Stick to one or two signature effects maximum, applying them consistently rather than experimenting with every tool in your software. Your story should shine through the editing, not be buried beneath it.
Data loss during editing ranks among the most heartbreaking problems couples face. Save your project frequently, ideally enabling auto save if your software offers it. Keep backup copies of both your raw footage and project files on separate drives. Cloud storage provides additional security, though uploading large video files takes time.
Common mistakes to avoid:
Cutting mid movement instead of on action points
Using too many different transition styles
Making music too loud over important dialogue
Forgetting to colour correct before adding creative grades
Not saving project files regularly during editing
Exporting without reviewing the full video first
“The difference between amateur and professional wedding films often comes down to restraint. Knowing when not to add an effect or transition shows more skill than knowing how to apply every tool in your software.” Wedding Film Editor
Ensure you ask the right questions to wedding videographers if you’re combining professional footage with your own clips, as understanding their workflow helps you match their style and quality standards.
Final touches and exporting your wedding video
Conducting a full review of your edited video catches errors you missed during the detailed editing process. Watch the entire film from start to finish without stopping, preferably on a large screen or television rather than your computer monitor. Note any awkward cuts, audio glitches, or pacing issues, then return to fix them. Fresh eyes help; consider asking a trusted friend to watch and provide honest feedback.
Applying final colour grading creates mood and consistency across your entire film. Unlike colour correction which fixes technical issues, colour grading adds creative style. Wedding films often benefit from slightly warm tones that feel romantic and timeless, though cooler grades can work for modern, minimalist aesthetics. Apply your chosen look consistently across all clips, adjusting individual shots only when necessary to match the overall palette.
Adding opening titles and closing credits provides professional polish whilst conveying important information. Keep title cards simple and readable, using elegant fonts that complement your wedding’s style. Include your names, wedding date, and location in the opening. Credits should thank key people like parents, wedding party members, and any vendors whose work appears in your film.
Choosing the right export settings preserves your hard work’s quality whilst ensuring compatibility. Final review and export settings impact how your film looks on different devices and platforms. For sharing online, H.264 codec with high bitrate provides excellent quality at manageable file sizes. For archival purposes, export a master copy in the highest quality your software offers.
Final touches checklist:
Watch the complete film and note any needed adjustments
Apply consistent colour grading across all footage
Add opening title cards with names and date
Create closing credits thanking important people
Check audio levels are balanced throughout
Ensure all text overlays are spelled correctly and readable
Export backups in multiple formats to ensure compatibility across devices and future proof your film. Technology changes rapidly; having versions in different formats protects against obsolescence. Consider these cinematic wedding editing steps as you finalise your project to ensure nothing is overlooked.
Export setting | Recommended value | Purpose |
Resolution | 1920x1080 (1080p) or 3840x2160 (4K) | Matches original footage quality |
Frame rate | 24, 25, or 30 fps | Maintains smooth motion |
Codec | H.264 for sharing, ProRes for archival | Balances quality and file size |
Bitrate | 15-20 Mbps (1080p), 50-80 Mbps (4K) | Ensures high quality output |
Audio | AAC, 320 kbps, 48kHz | Professional sound quality |
Create your perfect wedding film with expert support
Whilst editing your own wedding video offers incredible personal satisfaction, combining your efforts with professional footage creates truly stunning results. Professional wedding photographers and videographers capture angles, lighting, and moments that are difficult to achieve on your own, giving you premium material to work with during editing.
Our services across Derbyshire, Staffordshire, and Worcestershire specialise in capturing candid, natural moments with documentary style photography and cinematic videography. Many couples choose to have professionals film their ceremony and key moments, then use this guide to edit their own highlights reel or add personal touches. This hybrid approach gives you creative control whilst ensuring your most important memories are captured with professional quality. Whether you’re editing entirely on your own or enhancing professional footage, the skills you’ve learned here will help you create a wedding film that authentically tells your love story.
Frequently asked questions
Can I edit a wedding video without prior experience?
Yes, with user friendly software and a clear step by step guide, beginners can create beautiful wedding videos. Start with simple cuts and basic transitions, then gradually add more sophisticated techniques as your confidence grows. Practising with short clips before tackling your full wedding footage helps build skills without the pressure of working on irreplaceable memories.
What basic equipment do I need to start editing my wedding video?
A computer with decent processing power, at least 16GB of RAM, and video editing software are essential for wedding video editing. Optional but helpful items include an external hard drive for backup storage, a large monitor for detailed work, and good quality headphones for precise audio editing. Most modern laptops can handle basic editing, though desktop computers typically offer better performance for intensive tasks.
How long does it typically take to edit a wedding video?
Editing a wedding video can take anywhere from 10 to 40 hours depending on the final length, complexity, and your experience level. A 15 minute highlights film might require 15 to 25 hours for a beginner, whilst a full ceremony and reception edit could take 30 to 40 hours. Planning your structure well and using efficient workflows, like the ones outlined in this guide, can significantly reduce editing time whilst improving your final result.
Should I edit in chronological order or create a highlights style film?
The choice between chronological and highlights style depends on your vision and audience. Chronological edits work beautifully for full ceremony films that preserve every moment, whilst highlights reels create dynamic, emotionally driven stories perfect for sharing on social media. Many couples create both: a complete chronological version for personal archives and a shorter highlights film for wider sharing. Consider who will watch your film and how you plan to share it when making this decision.
Recommended

Comments